Purger les freins d'

You're cruising smoothly through town, an obstacle suddenly appears, you grab the right lever, and panic sets in: the handle pulls in mushily without offering any real resistance. Spongy brakes aren't just an unpleasant sensation—they're a major safety hazard in urban traffic.
When moisture or air bubbles infiltrate your two-wheeler's hydraulic system, the consequences are immediate. Trapped air in the lines can delay the pressurized contact of the brake pads and ruin the firmness of the lever. Faced with this danger, many assume they have no choice but to head to the mechanic or invest in expensive pneumatic tools.
However, the traditional gravity bleed (pouring fluid in from the top while pumping the lever) is often tedious and can leave micro-bubbles trapped in the bends of the brake hose. A highly effective at-home solution is the reverse bleeding method, also known as the "back-flush."
The 30-Second Summary
- The symptom: A squishy brake lever indicates the presence of air bubbles in the hydraulic system.
- The check: Always verify whether the system uses DOT fluid or mineral oil before doing anything.
- The back-flush principle: Injecting fresh fluid from the bottom (the caliper) to naturally push the air up and out (at the handlebars).
Why do your brake levers get spongy?
Before breaking out the toolbox, it's crucial to understand the fluid mechanics at play behind your handlebars. Your scooter's braking system relies on a simple but unforgiving law of physics.
Here's why air makes brakes spongy: fluid is (virtually) incompressible, whereas air easily compresses. This means a portion of the lever's force goes into squishing bubbles instead of pushing the pistons. In practical terms, the energy you apply with your right hand is wasted crushing air instead of clamping down on the brake rotor.
To determine if you need a major intervention, here is a quick diagnostic guide for your brake system:
- Symptom 1: The lever feels slightly mushy but still bites at the end. The air bubble is likely trapped right at the top of the system. Funnel kits are great for minor maintenance and "burping" the lever; they can quickly chase out that little bubble. These tools often come from the cycling world (like mineral oil funnels), but their principle applies perfectly to a scooter's master cylinder.
- Symptom 2: The lever pulls almost all the way to the grip. Funnel kits won't cut it if air is stubbornly trapped lower down in the brake line or the caliper. A full bottom-up bleed is required.
- Symptom 3: Vague braking after recent maintenance. A poorly executed bleed can compromise brake lever firmness. If you just bought a used scooter with this symptom, you need to bleed the brakes immediately.
Mineral oil or DOT fluid: How do you know?
Even before buying your gear in-store or online, there is one absolute check you must make. Your hydraulic system was designed by the manufacturer to operate with a very specific chemistry, and making a mistake here is mechanically fatal.
Mineral oil and DOT fluid are not interchangeable: using the wrong fluid for your system will destroy the seals and turn a simple brake repair into a very expensive replacement.
Verify before you act
This information is almost always engraved right on the master cylinder cover (the small square or round reservoir on your handlebars) or specified in your scooter's owner's manual. DOT fluid (often DOT 4 or DOT 5.1) is highly corrosive to paint and plastics if splashed, whereas mineral oil is gentler but specific to certain systems. Never mix the two, and immediately wipe up any stray drops.
The Gear: Why the two-syringe method is the best choice
There are multiple ways to restore firmness to a brake lever. However, when you weigh the financial investment against how effectively it extracts air, the reverse-bleed approach is the clear winner.
| Bleeding Method | Main Advantage | Technical Limitation | Time Required per Line |
|---|---|---|---|
| Simple Funnel | Perfect for "burping" at the handlebars | Ineffective for air trapped at the bottom | Not applicable for a full bleed |
| Two-syringe "Back-flush" | Naturally chases air upward | Requires a gentle touch on the plunger | Varies based on system condition |
| Professional Pressure Kit | Very fast and automated | Expensive, requires an air compressor | Depends on product specs |
The minimalist shopping list
For the back-flush method, you don't need a fully equipped professional workshop. The basic gear required to bleed your brakes yourself, as outlined on the mechanic site tro.bike, boils down to:
- Nitrile gloves to protect your hands.
- A bleed adapter kit (like the MVA6913, without the Mityvac vacuum pump).
- Two 60 cc syringes with sterile catheter tips.
- A fresh bottle of the correct brake fluid.
Step 1: Secure and prepare the scooter
Prepping your workspace is almost as important as the bleed itself. Put your two-wheeler on its center stand on a flat, well-lit surface. Turn the handlebars so that the master cylinder reservoir sits perfectly horizontal.
Protecting the bodywork
Generously surround the handlebar area with old, clean shop rags. If you're using DOT fluid, keep in mind that it will eat right through the paint and plastics of your fairings. Slowly unscrew the master cylinder cover and remove the black rubber diaphragm inside. Set them aside on a clean rag.
The golden rule at the handlebars
Once the system is open to the air, safety rules are strict. As long as the master cylinder cap is off, never squeeze the brake lever (or pedal): doing so can shoot brake fluid out and ruin your paint and plastics. Many beginners make the mistake of reflexively testing the lever halfway through the job—keep your hands away from the grip until the system is fully sealed.
Step 2: Prep the syringes and drain the master cylinder
The process starts by evacuating the old, degraded fluid (often brownish or blackened by rubber residue) stagnating in the handlebar reservoir. Grab the first of your two 60 cc syringes: this is your extraction syringe. Gently submerge the tip into the master cylinder and suck out the dead fluid.
Leave a safety buffer
Be careful not to get overzealous during this suction phase. When extracting the old fluid from the master cylinder reservoir, you must leave a few millimeters of fluid at the bottom to ensure nothing but liquid is sitting at the top of the line. If you drain the cup completely dry, you risk drawing air straight into the top of the brake hose, which will severely complicate the rest of the job.
The nurse's touch
Now, prep your second syringe (the injection one) by filling it with clear, fresh fluid from your bottle. Before bringing it anywhere near the brake caliper down by the wheel, a clinical maneuver is required. Before injecting, point the syringe of clean fluid upward, tap it, and purge it of any residual air, exactly like a nurse clearing a syringe before an injection. You only want to inject fluid, never air. Then, firmly attach your adapter to the catheter tip.
Step 3: The bottom-up "Back-Flush" injection
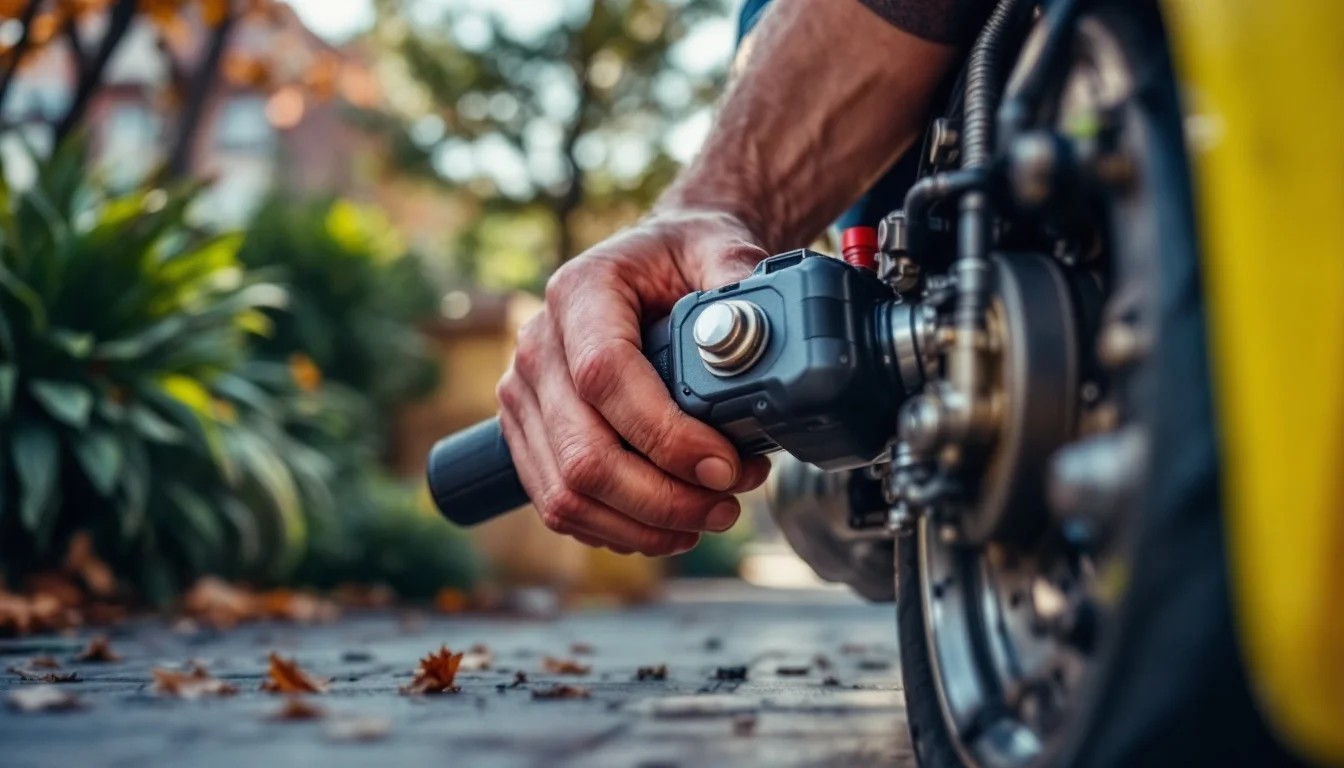
Head down to the wheel and locate the small bleeder screw on the brake caliper, usually covered by a rubber cap. Remove the cap, place your open-ended wrench (often 8mm, or whatever fits your bleed valve) onto the nut, then firmly slide the hose of your air-purged injection syringe over the nipple.
The reverse-flow principle
The "back-flush" method involves injecting fresh brake fluid through the bleeder valve (using a syringe and adapter) rather than pouring it into the master cylinder. The fluid pushes air bubbles and sediment upward, all the way to the master cylinder, where they are then extracted with the other syringe.
This approach works with gravity, not against it. Air bubbles naturally want to rise. By pushing from the lowest point in the system, you're helping them find the exit, sweeping up accumulated deposits in the bottom of the caliper along the way.
Mastering the pressure
- Open the bleed valve by about half a turn.
- Begin pushing the plunger on your bottom syringe.
- When injecting, press very lightly on the syringe: otherwise, the pressure is enough to send a geyser of fluid shooting out at the handlebars.
- Keep a watchful eye on the top reservoir (or stand up regularly to check if you're working alone). The old fluid will start rising, bringing any stubborn bubbles along for the ride.
- As soon as the master cylinder is three-quarters full again, tighten the bleed screw and restart the cycle.
At-Home Bleeding FAQ
The idea of tinkering with a two-wheeler's safety components makes a lot of urban riders hesitant. Here's some clarification to ease any lingering doubts before you dive in with your syringes.
Do I need two people to do this? No. The beauty of the syringe back-flush is that you don't need someone rhythmically pumping the lever while you open and close the bottom valve. You simply need to take the time to stand up every few seconds during injection to ensure the handlebar reservoir isn't overflowing.
Does this technique work on an ABS-equipped scooter? Mechanically, the method pushes fluid through the ABS module in the exact same way. However, exercise extreme caution: some complex anti-lock systems require electronic valve activation (via a diagnostic tool) to purge air trapped inside the ABS pump itself. Always refer to the specific workshop manual for your model if you're unsure.
Conclusion
Mastering the two-syringe back-flush method is a great skill to have whenever your brake lever starts feeling mushy or your fluid turns a brownish hue. You no longer need sophisticated equipment to restore the confidence of sharp, responsive braking in the rain or heavy traffic. If, despite a meticulous and properly executed bleed, your lever goes spongy again after a few days of commuting, the problem lies elsewhere. This often points to a porous O-ring on the caliper piston or a micro-leak in the brake line, which will require a more thorough mechanical diagnosis.