Scooter Coolant Guide
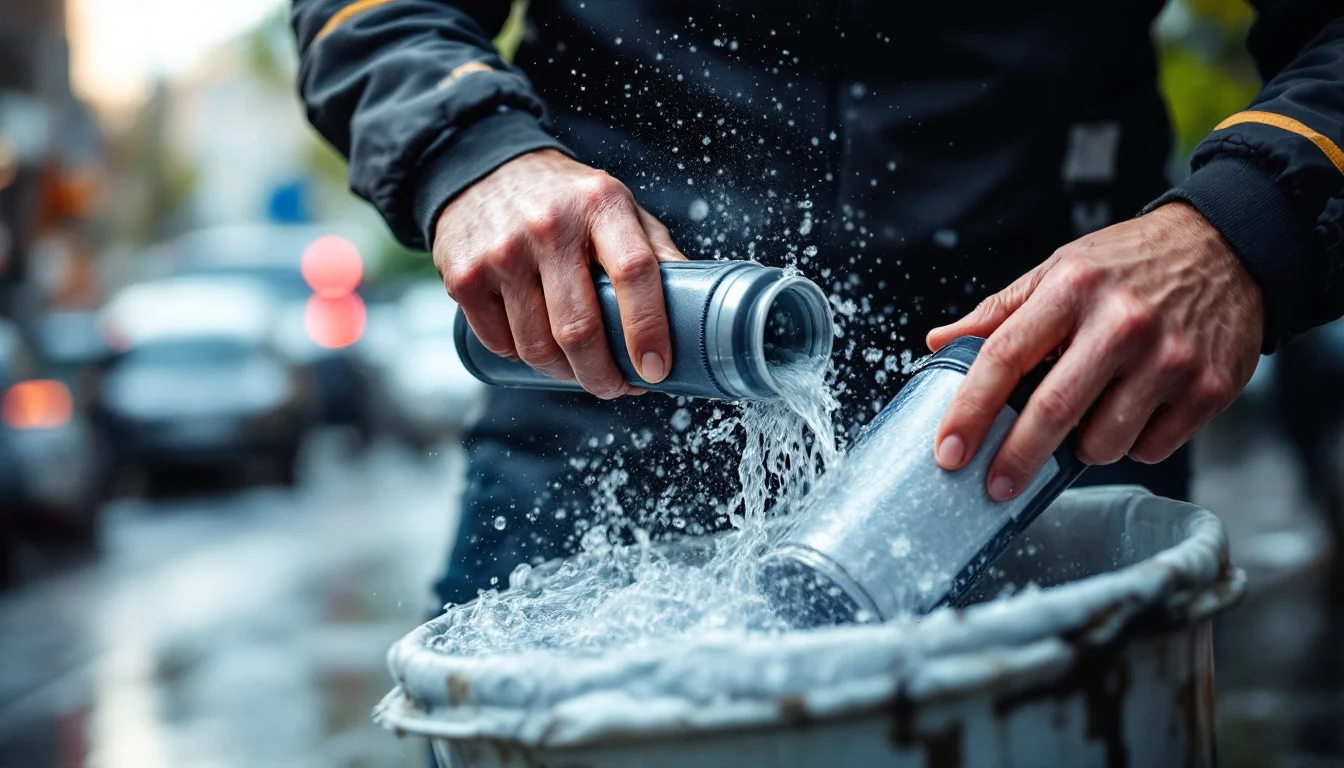
Navigating the city on a motorized two-wheeler is often seen as the ultimate solution to traffic jams. However, this stop-and-go riding style puts the mechanics through an extreme endurance test. It consists of frequent stops at red lights and long periods idling. In this context, heat build-up poses a major threat to your engine, just as much as over-revving or poor lubrication.
On a liquid-cooled scooter—whether a small 50cc commuter or a maxi-scooter—the cylinder's survival relies on precise thermal management. Without forward speed, natural airflow disappears. The cooling system is then left to dissipate the excess heat on its own.
Preventing overheating requires much more than just a quick glance at the dashboard. It means abandoning certain bad cosmetic maintenance habits. It also demands absolute rigor regarding the quality and volume of the coolant circulating through the machine's core.
Key Takeaways
Before diving into the details of fluid mechanics and your scooter's maintenance, here are the fundamental principles to keep in mind:
- Replacement frequency: Flushing intervals vary considerably depending on the manufacturer. While a complete flush is sometimes recommended every 2 years or 20,000 km as a general guideline, always consult your model's specific maintenance schedule.
- Absolute safety: Any maintenance, from a simple level check to a full system bleed, must strictly be performed on a completely cold engine.
- Cleaning hazards: Using a high-pressure jet too close to the radiator grille can damage the fins.
- Bleeding technique: Depending on the specific layout of the cooling system, special procedures (such as using bleeder screws or tilting the vehicle) may be required to expel air from the system.
Understanding Urban Overheating: The Critical Role of Airflow
Managing the temperature of an internal combustion engine is a balancing act. The system must heat up quickly enough to limit wear on moving parts, yet cool down efficiently enough to prevent meltdowns. This initial regulatory role is handled by the thermostat.
The Heating Cycle and the Thermostat
When the engine is cold, this thermostat is generally closed. The coolant then circulates primarily in a shortened loop around the engine, accelerating the warm-up process and reducing wear during this phase. Once operating temperature is reached, the thermostat gradually opens, allowing a growing portion of the hot fluid to flow to the radiator to be cooled.
Vulnerability at a Standstill
This is where the urban environment becomes problematic. Riding at normal speeds, the oncoming wind rushes into the grille and effectively cools the fins. When stopped in traffic or at traffic lights, this wind is virtually nonexistent. The system detects the rising temperature and triggers the radiator fan, which mechanically forces ambient air through the grille.
However, this fan can't work miracles if the heat exchange surface is compromised. Ambient city grime, mud, and insects accumulate quickly. These elements clog the fins, resulting in a fan that runs constantly and abnormally high temperatures. In extreme cases, you might even hear muffled boiling sounds right after turning off the ignition.
The High-Pressure Washing Trap
Faced with a dirty radiator, many owners instinctively point a pressure washer wand straight at the front grille. This is a damaging maintenance mistake. A high-pressure jet sprayed too close to the surface is strong enough to bend the radiator's delicate fins.
By flattening these fins, the jet permanently blocks the channels where air circulates. The radiator then loses a significant portion of its heat exchange surface. The only viable method for cleaning this part is to use warm water paired with a soft brush to dislodge the mud without bending the metal.
Diagnosis: Warning Signs of a Failing Cooling System
An engine never seizes without warning. Long before the situation becomes irreversible, the system emits distress signals that every regular rider must learn to decipher. Recognizing these clues allows for timely intervention.
It is crucial to understand that riding with a damaged radiator is a risky gamble. A simple coolant leak, no matter how minor, can quickly lead to overheating and top-end engine damage.
To assess the health of your cooling system, your observations should be broken down into three categories:
- Visual Signs (Cold Inspection)
- Damp spots and leaks: Found along the hoses or under the water pump, these indicate a worn hose clamp or a porous hose.
- White or greenish deposits: Often located at metal junctions, they are signs of micro-leaks that have evaporated from the heat.
- Slow drop in coolant level: If you have to regularly top up the reservoir, the system is no longer watertight.
- Bent fins: An impact or aggressive washing reduces cooling efficiency.
- Auditory Signs (Hot Behavior)
- Hyperactive fan: If the fan kicks on constantly within the first few minutes of urban traffic, the system is struggling to dissipate heat.
- Gurgling and boiling sounds: Audible after turning off the ignition, these reveal degraded fluid or a faulty radiator cap.
- Olfactory Signs
- Sweet smell: The distinct, sweet odor of coolant is also a major warning sign.
- The Critical Indicator (Absolute Emergency)
- The temperature warning light: This is a serious alert. You must immediately pull over calmly, stop in a safe place as soon as possible, and turn off the engine.
The Flush Protocol: Golden Rules for DIY Maintenance
Maintaining the thermal system is an accessible task for skilled DIYers, provided they follow a rigorous method. While you may sometimes hear recommendations to completely flush the coolant every 2 years or 20,000 kilometers, replacement intervals vary significantly between manufacturers and must always be cross-checked with your scooter model's specific maintenance schedule. However, if you notice suspicious internal leaks or smell exhaust fumes in the coolant, it is best to entrust the vehicle to a professional.
Absolute Safety Rule
Before gathering your tools, remember this strict rule: any work on the cooling system must be done on a cold engine. Opening a hot radiator cap puts you at risk of severe burns from pressurized splashes.
Step 1: Relieve Pressure and Open the System
The drain process begins by managing the air intake. The procedure heavily depends on the system's architecture. On many models, it is recommended to first open the main radiator cap to allow air to enter freely, facilitating drainage. Opening the expansion tank—if one is present and directly linked—is then done according to the vehicle's specific recommendations.
Step 2: Draining the Old Coolant
Next, locate the lowest point in the system. The drain bolt is typically situated near the water pump.
Once this bolt is removed, the fluid will drain out. To ensure a complete flush and avoid mixing new coolant with old residue, consider these two tips:
- Firmly squeeze the large rubber hoses to force out any stubborn pockets of fluid.
- Slightly tilt the vehicle, being mindful of potential leaks (fuel, battery), to drain the very last drops.
Step 3: The Subtlety of Bleeding the Air
Depending on the precise layout of your model's cooling system, air can tend to get trapped in high spots. The need for and method of bleeding depend on the design: you might need to use specific bleeder screws or, on certain models, gently rock or tilt the vehicle during filling to force trapped air upwards and purge the system.
Step 4: Reassembly and Topping Up
The drain bolt must always be reinstalled with a new crush washer to prevent micro-leaks. The tightening torque for this screw and the exact coolant capacity in liters must always be verified in the manufacturer's workshop manual.
When simply topping up a system equipped with an expansion tank, it is generally recommended to fill only the tank, while cold. However, after a complete flush, the system must be refilled and bled by pouring directly into the radiator to expel air, before adjusting the final level in the expansion tank up to the maximum visible mark, never exceeding this line.
When a Flush Isn't Enough: Replacing Peripherals
Despite consistent maintenance and regular flushes, thermal components still suffer the wear and tear of time. Thermal stress and vibrations fatigue the materials. Eventually, simply replacing the fluid is no longer enough.
A Systemic Approach to Repairs
When faced with recurring overheating, persistent leaks, or severe corrosion, a straight replacement of the radiator becomes necessary.
However, it is counterproductive to replace this centerpiece in isolation. Connecting a new component to a tired network merely shifts the problem elsewhere. A systemic repair is highly recommended. When installing a new radiator, you should simultaneously replace any baked hoses, clamps, the worn thermostat, the radiator cap, and the entire volume of coolant.
FAQ: Common Questions About Coolant
Which coolant should I buy?
Choosing the right product should never be left to chance. Your first priority should be to follow the technical specifications and standards outlined in your scooter's owner's manual. When in doubt, opt for a coolant specifically formulated for motorcycles and scooters that is compatible with the materials in your cooling system—and only mix two different fluids if your model's specifications explicitly allow it.What equipment do I need to do a flush at home?
The required tools are very basic. You will need a jug of fresh coolant, an 8mm or 10mm wrench depending on the model, and an environmental mat or a large drain pan. The latter allows you to catch the old fluid without making a mess on the floor. Used coolant must be disposed of at a designated recycling facility: never pour it down the drain or into the environment.Conclusion: Thermal Management, the Pillar of Longevity
The thermal density of engines in urban environments leaves little margin for error when it comes to excess heat. Mastering the subtleties of airflow, knowing how to interpret an abnormal rise in temperature, and keeping your cooling system clean are indispensable skills for preserving your scooter's mechanics—just as crucial as checking your tire pressure or engine oil level.